How to Add a Discount Code
We make it easy to incorporate a static or dynamic discount code into your Grid & Pixel graphic. Grid and Pixel pulls in any active discount codes that you've created in Shopify or Klaviyo. Here's how it works:
1. Create your coupon code in Shopify or Klaviyo
If you want to create a static coupon code (meaning the code is the same for every customer), then create your coupon code in Shopify.
If you want to create a dynamic coupon code (meaning the code is unique for every customer), then create your coupon code in Klaviyo.
If you're not sure where to start, follow the Shopify or Klaviyo instructions for how to create a coupon code.
You will not see your coupon code in Grid & Pixel if:
The code hasn't been created yet
You are not logged into Grid & Pixel or you're not a registered user
You created a code in Klaviyo but didn't specify a quantity. If you see your coupon code says "0/0" available like the example below, then you need to click the three vertical dots to the right and select Add Codes. You need at least 1 code added to see the coupon in Grid & Pixel.
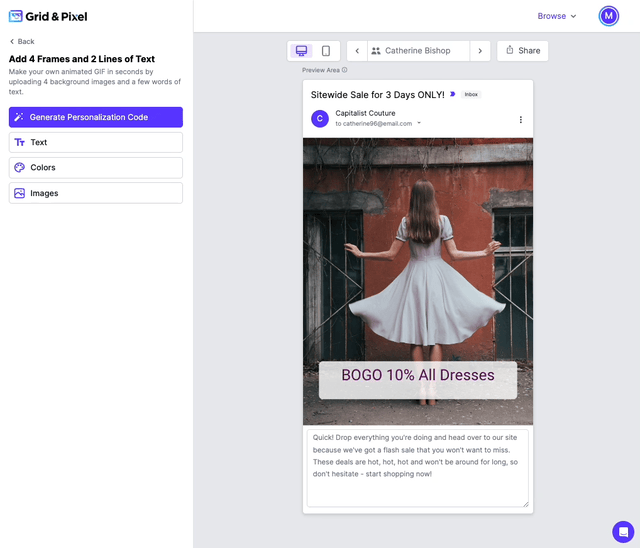
2. Open the Text module and look for the Discount Code field
You'll see a dropdown menu of all available codes from Shopify or Klaviyo that are marked as active. Select the code you want to use in your graphic.

Note: If you want to hide the discount entirely, you can simply choose "Hide Discount" from the dropdown menu instead.
3. Generate your personalization code and test your email
In Klaviyo, when you paste the code and test your email, you'll notice that "-PREVIEW" is appended to the discount code in the graphic. This is a sign that the code is working correctly, and will appear as a dynamic code when send it to your customers. Static codes will not be appended with anything.