How to Add Grid & Pixel Graphics to Your Klaviyo Emails with Live Embed Code
There’s a lot to love about Grid and Pixel’s personalized email graphics, but we think the easy implementation is something you’ll really adore.
It only takes seconds to add your customized graphic to your customer engagement platform. Plus, if you use Klaviyo, those email graphics are powered by an AI product recommendation engine that will analyze where the graphic is added and choose the most relevant products and destination links for each recipient based on prior behavior, purchase history, demographics, and more.
Here’s all you need to do:
1. Generate your code snippet
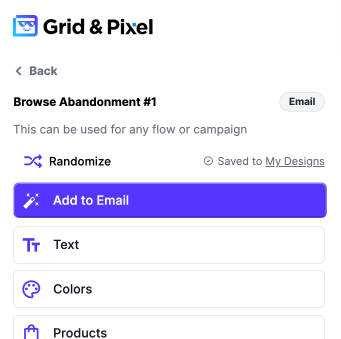
When you’ve customized your graphic and are ready to add it to your email, click the purple 'Add to Email' button at the top-left of the graphic editor. (If you are editing an SMS design, this button will say 'Add to SMS')
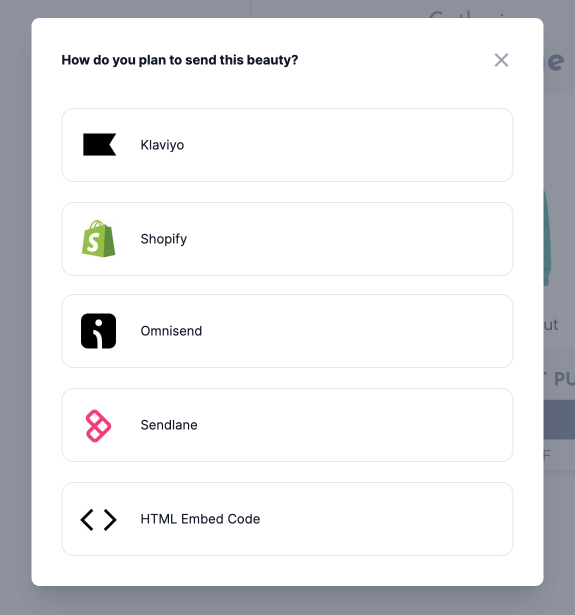
2. Select Klaviyo
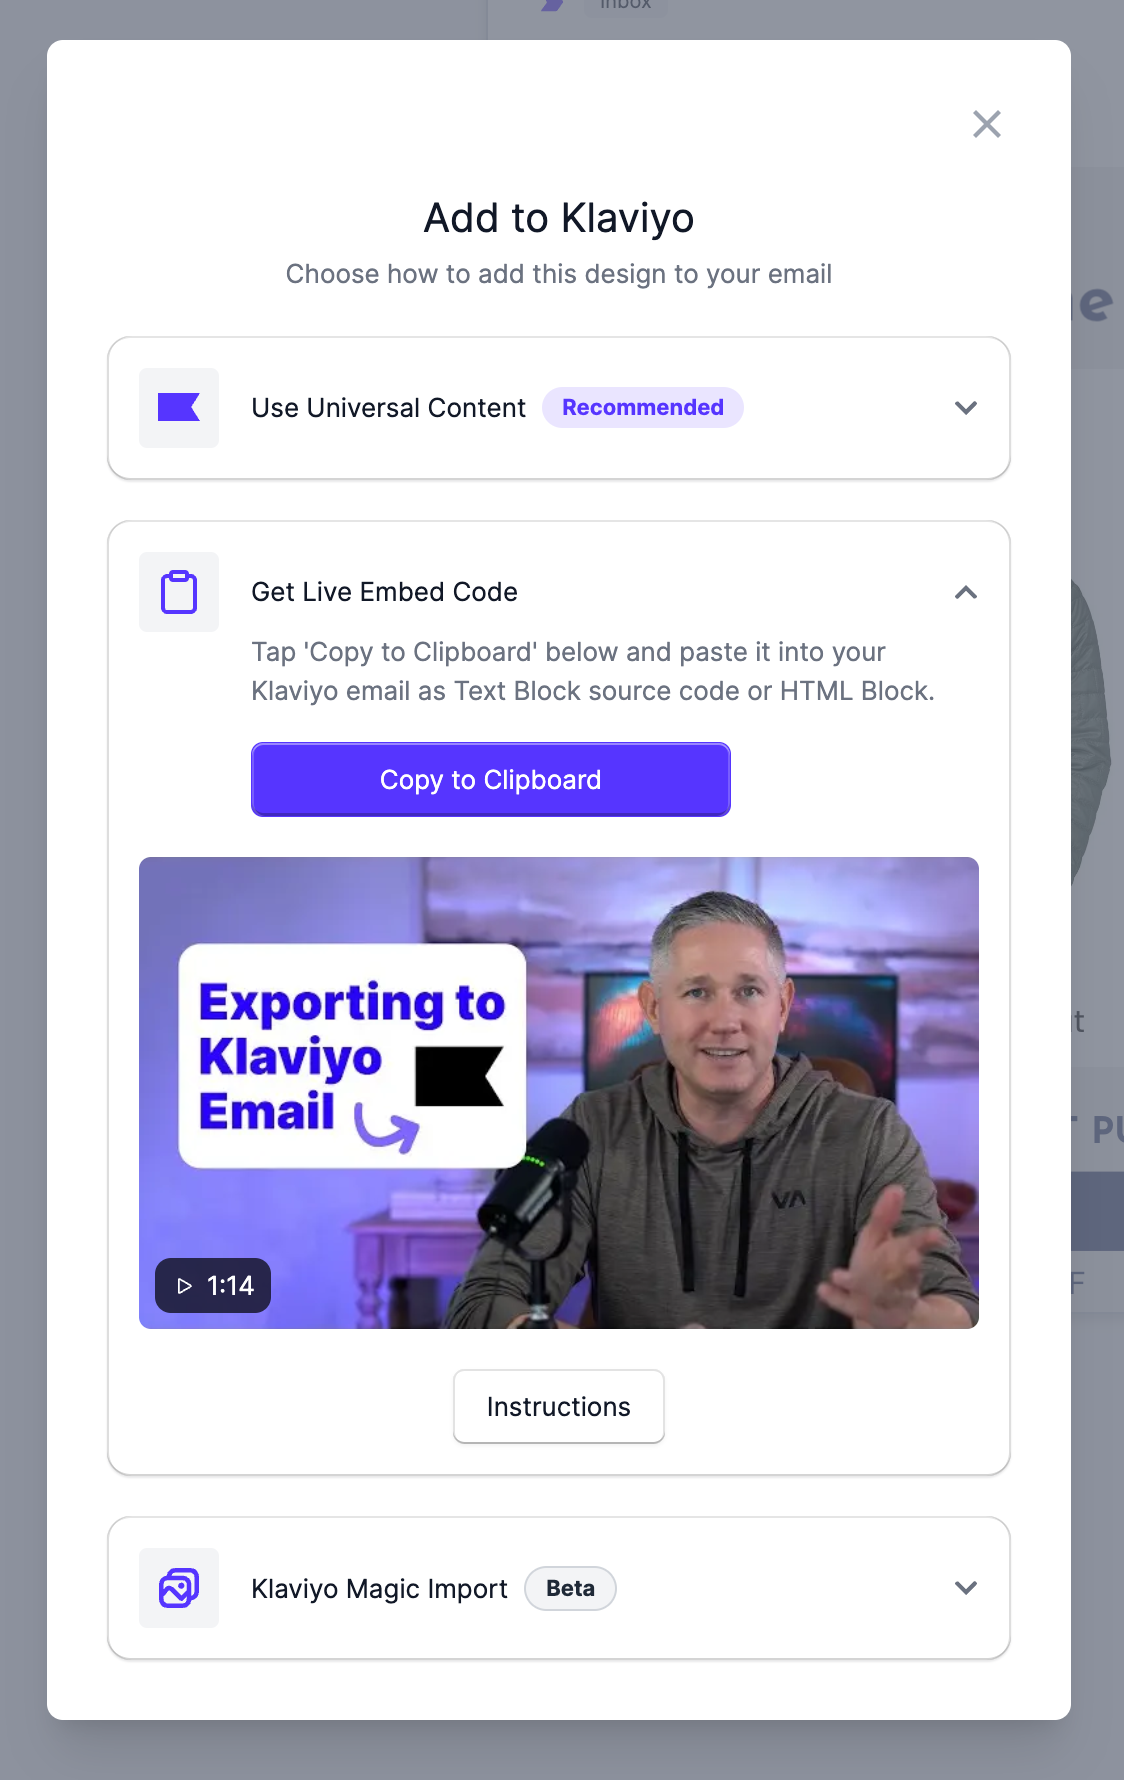
3. Open Get Live Embed Code option
Then click Copy to Clipboard to copy the snippet.
4. Paste the code snippet
Inside Klaviyo, find the email where you’ll be adding the graphic, either by going to the Campaigns or Flows section.
Open the email and click Edit Email.
If your Klaviyo does NOT offer an HTML block option:
Drag over a Text block and drop it into your template and click the Source code drawer of the text editor.
Remove this default source code:
<div>This is a text block. Double click here to edit it...</div>
Then, paste the code snippet.
If your Klaviyo DOES offer an HTML block option:
Drag over an HTML block and drop it into your template and then remove this default source code:
<strong>HTML Block</strong>
Then, paste the code snippet.
5. Adjust the block padding
Klaviyo adds default padding to text blocks in email, so you’ll want 0 padding so the graphic goes to the edge of your email. Remove any extra padding and voila!

6. Preview and test
Hit the Preview and test button to review the graphic and send yourself a test to make sure it’s exactly as you wanted. You'll be able to cycle through your customers who match the campaign or flow segmentation criteria, so you can get a live look at how the email will look for different subscribers.
If you’re adding your graphic to a flow, you’ll see that the name and product imagery will change dynamically depending on the user’s browsing and purchase history.
Adding graphics to SMS
Want to add a Grid & Pixel graphic to an SMS in Klaviyo? Read our full guide here.